
Are you new to installing solar PV modules on a metal roof? We’ve heard from many of you who’d like a better grasp on the fundamentals of solar PV installation – especially when setting the stage for proper wire management. So today we’re offering you a primer on:
- The components of a PV array and how they work together.
- An overview of Module-Level Power Electronics (MLPE).
- The steps to get ready for solar PV wire-management design.
How Do the Components of Your PV Array Interact?
Let’s take a quick look at some basic features of your solar array:
- A solar cell (PV cell) is made of semiconductor material. The cell absorbs and converts sunlight into direct current (DC) electricity.
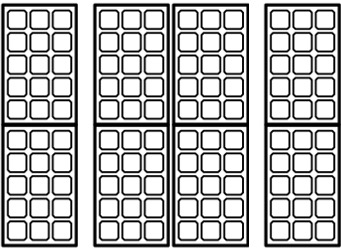
- A solar module is a collection of cells wired together and housed in a sealed frame with a glass surface.
- Each module has two conductor wires: one positively charged [+] wire and one negatively charged [-] wire. Conductors are mounted on the underside of each module.
- A string is a set of modules electrically connected by conductor wires. There are typically 16 to 18 modules in a string but the number of modules will vary depending on their output and your inverter’s input capacity.
- A solar array is the collection of module strings working together to generate a single electrical output.
- Balance of System (BOS) components are the items your system needs to work effectively other than the modules. Elements of BOS include:
- An inverter to convert the DC electricity into alternating current (AC) electricity. The inverter may be located on the roof at the edge of the PV system, another place outside the building or even inside the building.
- A homerun to route the generated electricity from the modules to the inverter for DC-to-AC conversion. The homerun houses bundles of wires and may consist of conduit or wire management trays.
- Combiner/junction boxes house wiring junctions and other electrical connection devices.
- Mounting hardware/structures.
- Batteries and other supplemental parts.

How Do You Get the Energy From Your Modules to the Building?
Conductors under the modules need to be plugged together in series where the “+” conductor of one module connects to the “–” conductor of the next module in the string. This results in a “+” conductor on one end of the string and a “–” conductor on the other end. Jumper wires are attached to the string ends to route the electricity beneath the array, through the homerun and to the inverter.
As with any electrical component, grounding is important. The building code requires any metallic item in your solar PV system not carrying power/electricity (like the metal module frames) to be grounded. The ground path has to go to the system ground of your building for protection in case a wire carrying electricity breaks over time and electrifies some other metallic component. These other metallic items must be electrically bonded to one another using an approved method to maintain a continuous ground path. Some rail-less mounting solutions function as UL-listed bonding devices and make the bonded connection automatic.
Once all components are bonded together, a ground-path chain is established and only one of the components in the chain needs a wire to connect the system to the ground (as each bonded metal component is then also grounded).
 |
Do you know about our bonding jumper? It bonds two columns together to maintain ground path continuity. Check out this helpful product! |
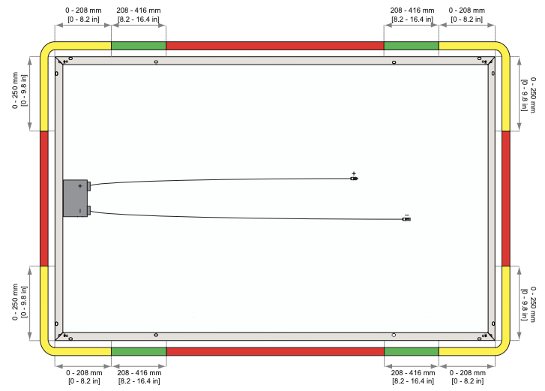
Wires cannot lay on the roof as they’ll carry electricity and the metal roof is, well, metallic. And keeping wires off the roof protects them from water and debris. Conductor wires are often longer than needed if you’re simply connecting to an adjacent module, so they should be coiled, tucked up under the module and secured in place. The best practice is to attach wires to the underside of the module frames using wire clips. Wire clips come in many different forms and are an easy way to prevent wires from touching the roof. Explore our new wire clips!
What Are Module-Level Power Electronics and How Do They Work?
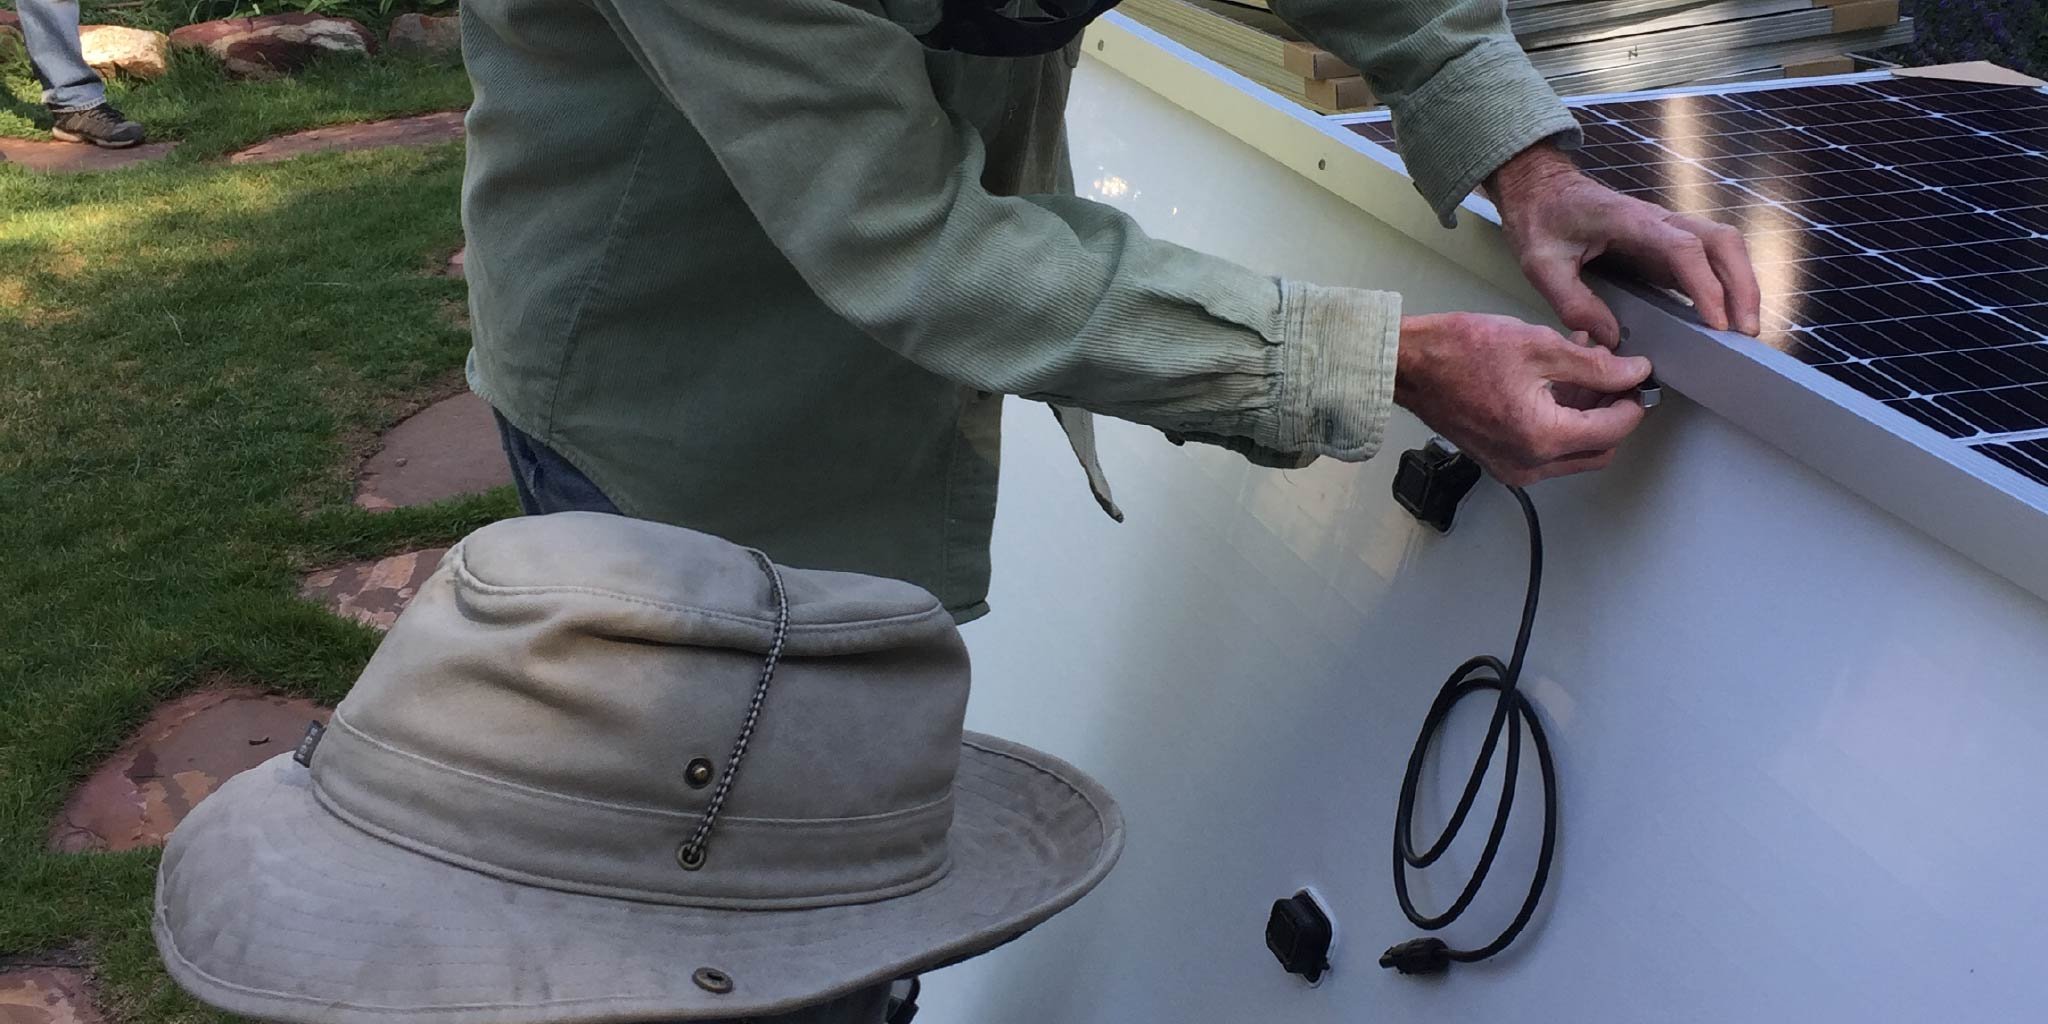
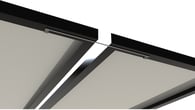
 Module-level power electronics (MLPE) refer to devices electrically connected to each module such as microinverters, optimizers and rapid-shutdown devices. (See image to the left: An example of an MLPE mounted on the S-5! CorruBracket™ 500T PV.)
Let’s take a quick look at these three components:
- Microinverters convert power from DC to AC at each module. They can be mounted to the underside of each module using clips or attached to the roof. The benefit of microinverters is an increase in efficiency. The disadvantage of these devices is you’ll have more individual pieces of electronic equipment to maintain.
- Optimizers help each module increase efficiency but do not convert power at the module level. They are less expensive than microinverters, but (as with microinverters) there are more pieces to maintain. The best place to affix an optimizer is beneath the module on the frame.
- Rapid-shutdown devices are safety solutions. They de-energize solar system DC conductors and give firefighters safe access to the roof during a fire. Rapid-shutdown devices should be attached to the module frame.
How Do You Prepare for Successful Wire Management?
Here are few best practices to consider before starting your wire-management design:
|
|
 |
|
|
|
|
|
|
 |
|
|
|
Ideas to Hold Onto
Now you have a solid understanding of your PV system’s basic infrastructure. We laid the groundwork by defining commonly used terms and examined:
- The way many components connect to form a PV array.
- The items involved in Module-Level Power Electronics (MLPE).
- The advance preparations that pave the way for successful rail-less solar wire management on a metal rooftop.
Ready to take your knowledge to the next level?
String design in wire management is critically important, and there’s a lot to consider. In an upcoming blog, we’ll cover the two main approaches for rail-less wire management – the direct method and the trunk method – and give you key strategies for planning your PV array’s electric design. Check back soon!