
Ready to put a solar PV array on your roof? With solar installations becoming increasingly popular, many building owners, DIYers and new-to-solar contractors are learning about this field. If you’re jumping into the world of solar installations, we’ve pulled together some ideas and important considerations to get you started on the right foot.
We know solar installations often occur when you’re undertaking new roof construction or roof replacements. But before you begin your project, if you don’t have a metal roof, now’s the time to consider getting one. It’s the only roof type able to last and even exceed the entire life of your solar array without the need for replacement. To mount a solar PV system on any other roof type is a bit like putting a Ferrari engine on a Ford Escort chassis.
Additionally, metal roofing is much more solar-friendly from an installation perspective than other roof types. These attributes translate to greater longevity and lower costs. And if you have a metal roof – whether it’s a standing seam or an exposed-fastened one – the following smart strategies will help you design and optimize the layout and integration of your new solar PV array.
How Do You Get Organized for a Successful Solar Installation?
Here’s a checklist of items you need to know before you begin your installation:
|
|
 |
|
 |
|
 |
|
 |
|
 |
|
 How Does Building Orientation and Roof Pitch Affect Your Solar PV’s Performance?
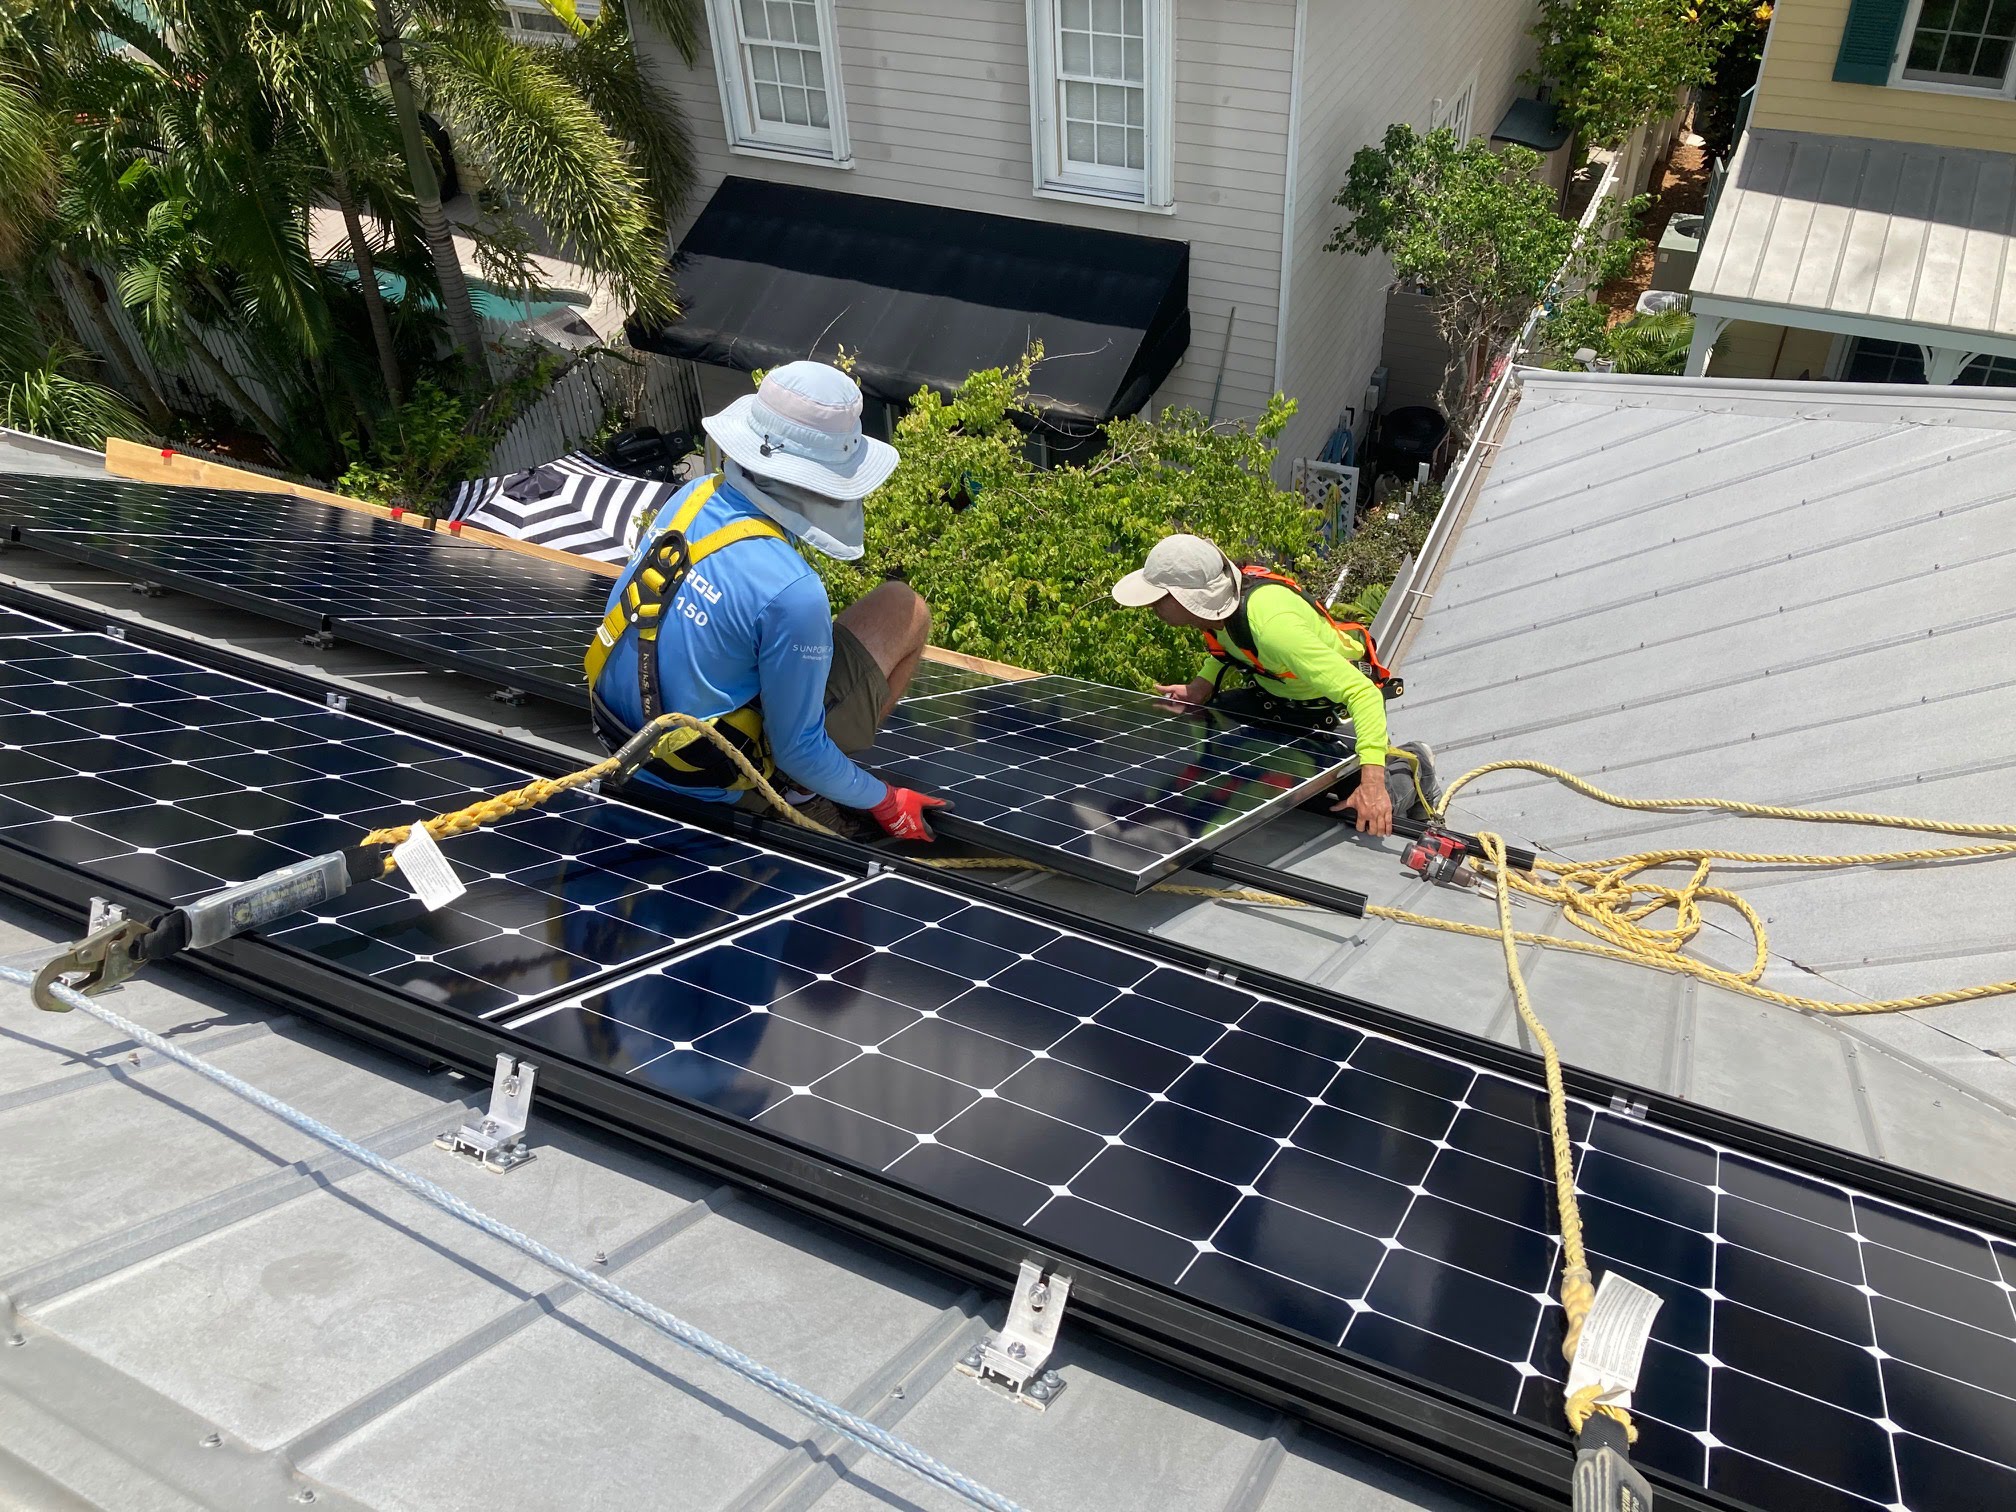
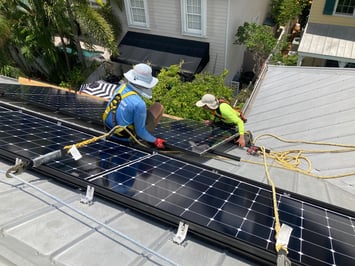
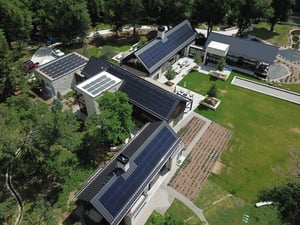
A PV module’s energy production is driven by sunlight hitting the front of its surface. More power is produced when the surface is pointing directly at the sun. So building orientation and roof pitch are important to maximize your PV system’s power production. To make this more complicated, the sun’s azimuth to the roof changes from season to season. (Photo Source: Salt Energy - Florida).
When steeper slopes are involved, south-facing roof surfaces are optimal. Roof surfaces oriented southwest or southeast may also be good options, even though they offer less power production. Avoid north-facing roofs and northeast- to northwest-facing surfaces if the roof is steeply pitched. Roof orientation is not as important for very low-slope (5º or less) commercial roofs.
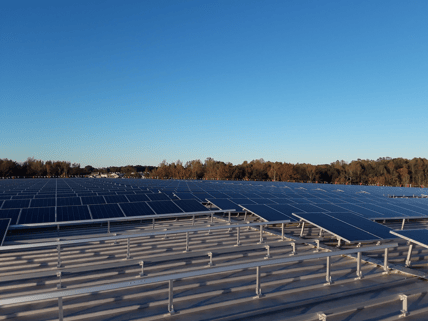
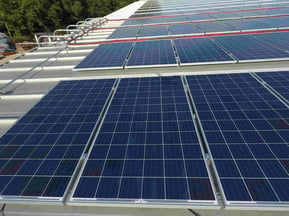
Modules are normally installed flush to the roof surface on steep roofs and flush or very slightly tilted on low-slope applications. Tilted systems are still used in very northern geographies and on some roofs not oriented to the south. Energy production can be increased by tilting the PV modules to point more directly at the sun, but the return is not generally worth the extra cost involved. In addition, the system will be more susceptible to wind forces when tilted. Aggressive module tilting can be expensive and create adverse snow-drifting and wind effects. (Photo Source: Yes Solar Solutions - North Carolina)
Will Shading Be an Issue?
Shade and shadows cast on the array will lower its performance. Carefully consider the location of your building components, such as plumbing stacks, skylights, chimneys and side walls, as they may create shadows on the solar modules.
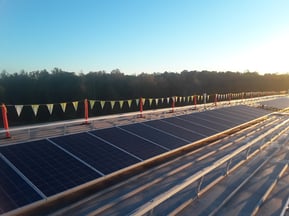
The best Solar Zone is free of roof obstructions.

Trees and adjacent buildings may cast shadows on the roof. You also need to take into account potential future buildings (or future tree growth), which might obscure the sun on your PV installation. Remember, you’re installing a system predicted to last for more than three decades. Ideally, your solar system’s layout should be modified to accommodate these conditions.
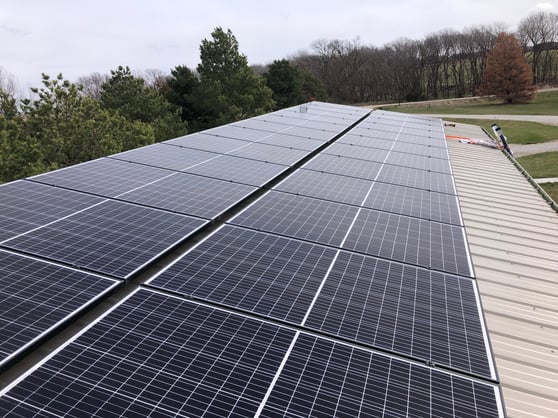
(Solar mounted system without shadow-causing obstructions. Photo Source: J-Tech Solar - Nebraska)
How Do You Determine the Maximum Number of Modules That Fit on Your Metal Roof?
The Solar Zone is a geometric area specifying the maximum number of modules (or buildable installation space) on your roof. Essentially, it’s the “envelope” into which your modules will physically fit.
Factors involved in creating the Solar Zone include:
- The required setback from the edges of the building to meet your local jurisdiction’s fire codes. Although a metal roof is non-combustible, firefighters need to have access to the roof in the event the modules catch fire.
- The need for a setback around obstacles (big chimneys, HVAC units). Don’t build right up against roof-mounted HVAC or other equipment as you’ll need a setback for shading in these locations too. Recognize where your shading areas will be in the winter months when the sun’s position on the horizon has shifted. The shade cast from obstacles will change during different times of the year, so it may affect your Solar Zone’s buildable area more than you may think. Software common to the industry accurately maps shading effects based on height and size of obstructions combined with the site latitude.
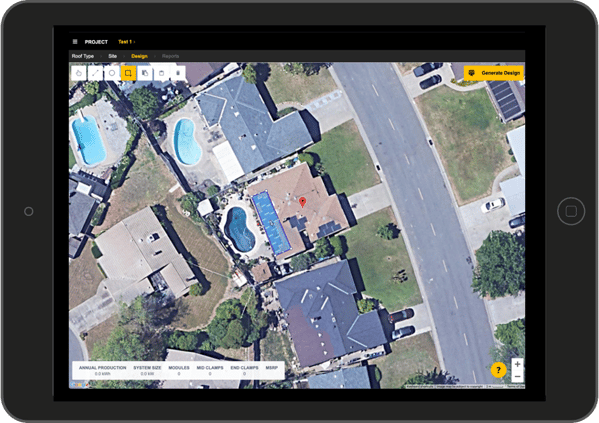
(The S-5! Solar Calculator utilizes software that accurately maps shading effects based on the height and size of obstructions combined with the site latitude.)
- Space loss due to wire management, homeruns and other Balance of System (BOS) components.
- The type of project you’re undertaking. With new construction, you can design an optimal Solar Zone. But with existing construction, you have to live with what you have—or potentially cut down some trees and move some rooftop obstacles. These options should be considered. For instance, rerouting a plumbing stack within the attic can augment the usable roof space considerably.
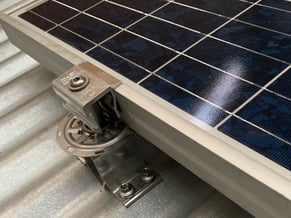
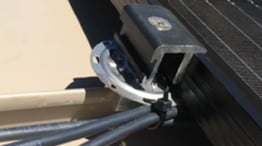
What Are the Differences Between Rail and Rail-less Layouts?
There are two main ways to attach PV modules to your roof – railed racking systems and rail-less mounting solutions. Let’s look at some of the differences between these systems:
 |
|
 |
|
 |
|
 |
|
With both rail and rail-less systems, always include wire management in your layout as it can impact how you finalize your design.
Looking for more information on wire management?
 |
Check back for our upcoming blog to get a primer on this key part of your solar PV system. |
Ideas to Hold Onto
Because rooftop solar arrays are a great way to produce energy and ultimately lower your electric bill, many people include them during new construction or roof replacement – and discover the ins and outs of PV module installation along the way. Today, we looked at some important points on how to design and optimize the layout of your solar PV array.
Our review covered:
- A checklist of items you’ll need before you start installation.
- Your building’s orientation and roof pitch.
- Shading issues.
- Considerations in creating your roof’s Solar Zone.
- Rail and rail-less mounting system layouts.

The next step is to lay a solid foundation for wire management, and we’re here to help. Our upcoming blog will offer a primer on wire management basics. Later, we’ll offer a blog for the skilled professional, taking a deeper dive into this critical aspect of any solar installation. Stay tuned!